350Evo Sway Bar Installation
Credit goes to John, original post can be found here.|
Tools needed: 18" breaker bar (1/2+ recommended) / impact wrench if you have it 17mm socket 14mm socket 14mm long socket 10mm socket hefty ratchet set of Allen wrenches (I don't remember the size) screwdriver socket extension plenty of Beer |
Rear Sway Bar
Step 1: Open a beer. Beer is an essential tradition for working on a car, and this step is MANDATORY. (Amstel Light is all I had in my fridge that day, so no making fun of me)
Step 2: Put car on jackstands. If you don't know how to do this, please quit now. Also, remove the rear left wheel.
Step 3: Unscrew / unbolt diffuser thing.
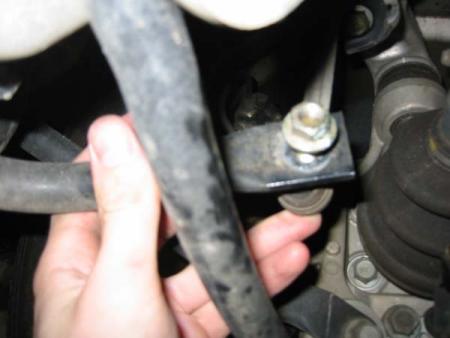
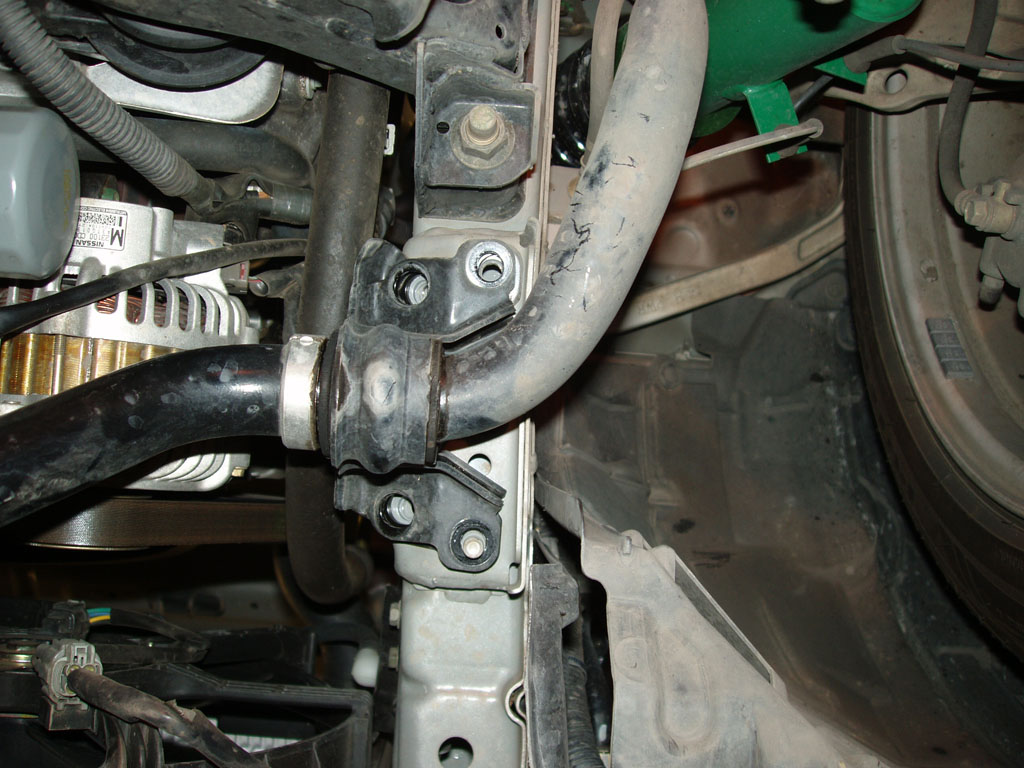
Step 4: Unbolt the 14mm bolt that connecdts the endlinks to the sway bars. Don't pull out the endlink screw from the end of the sway bars just yet though.
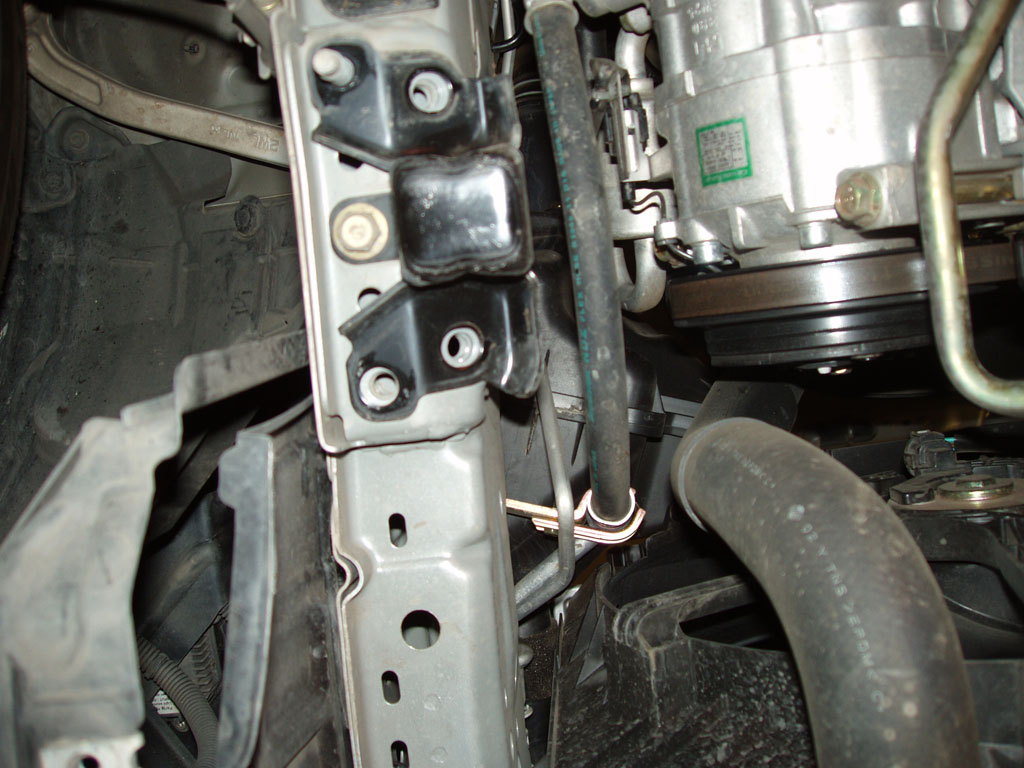
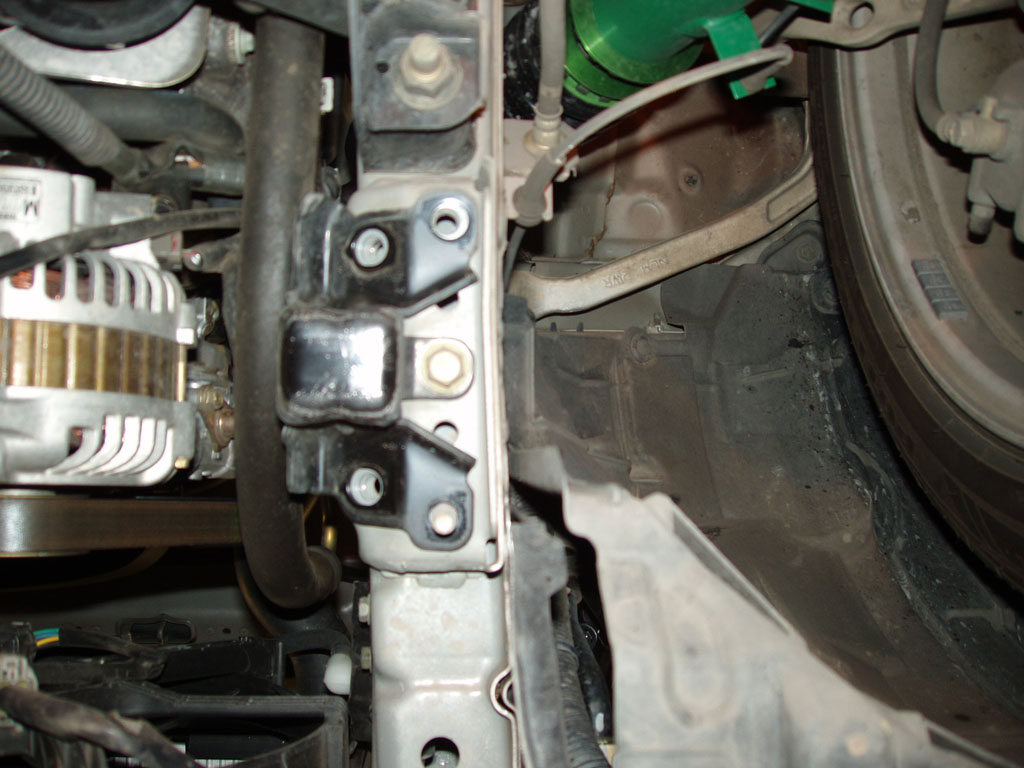
Step 5: Remove the 14mm bolts from the brackets that connect the sway bar to the chassis.

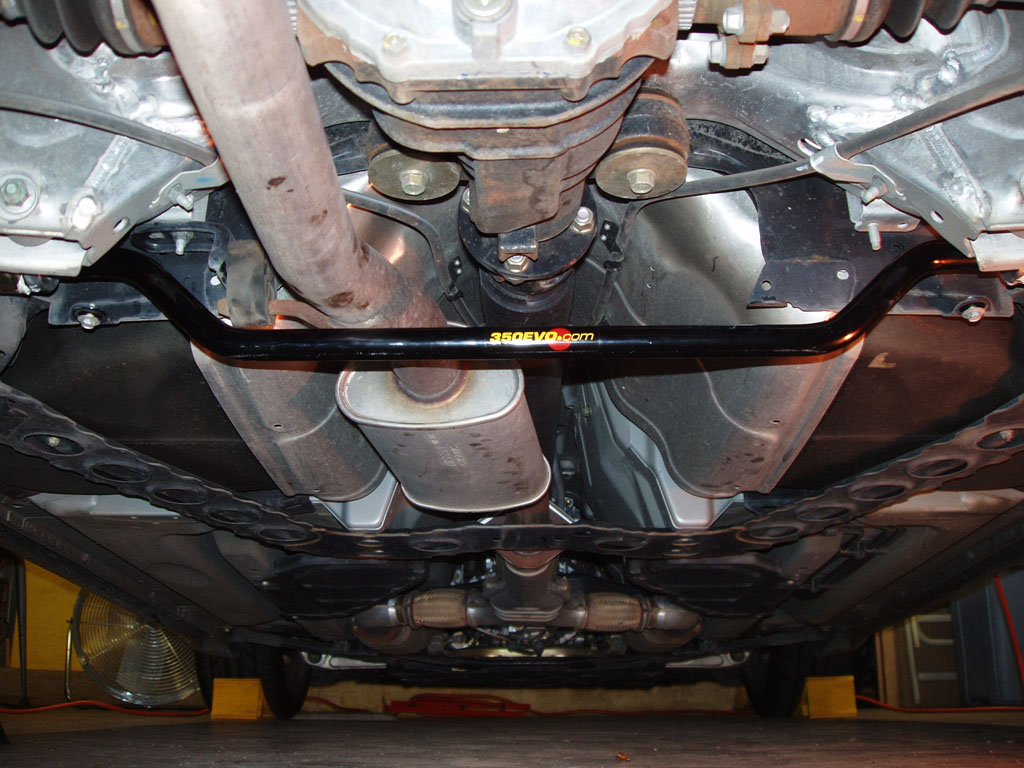
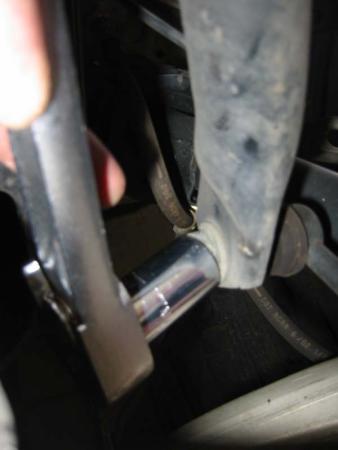
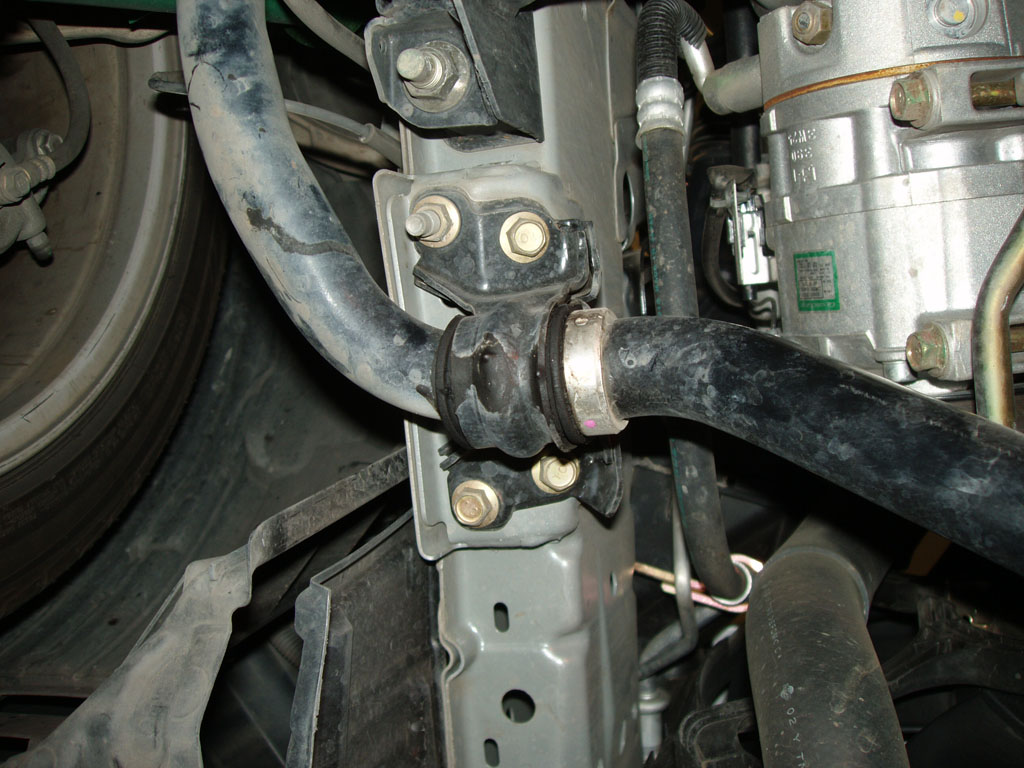
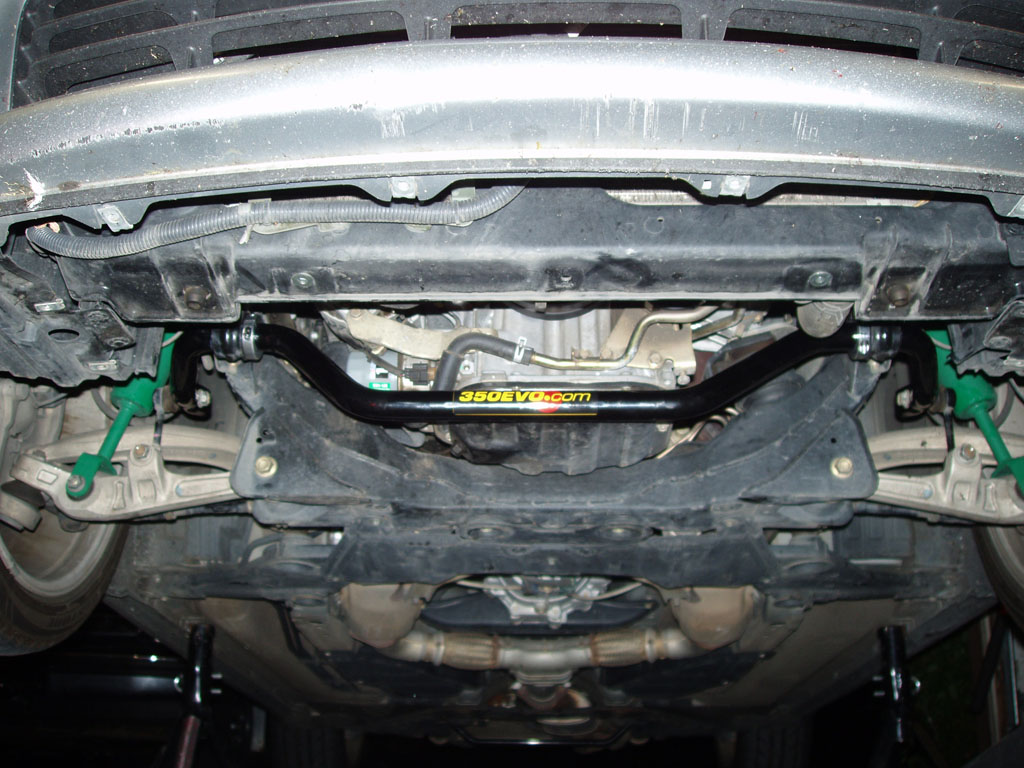
Step 6: Now that the sway bar is completely disconnected, remove the endlinks from the ends of the sway bar. You will notice that because of the way the sway bar is bent. So, unbolt the 14mm bolt that holds the exhaust flange bracket between the muffler and the resonator. The one bolt is in the center of this photo:
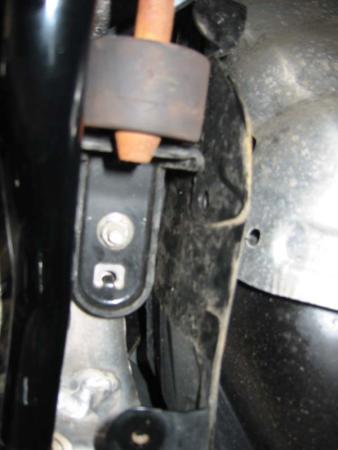
Step 7: Pull down on the muffler and weasel the sway bar out towards of the direction of the rear driver's side wheel well. Don't get too frustrated, it will come out, it's just a tedious process. Hey, if my weak *** can do it, so can you.
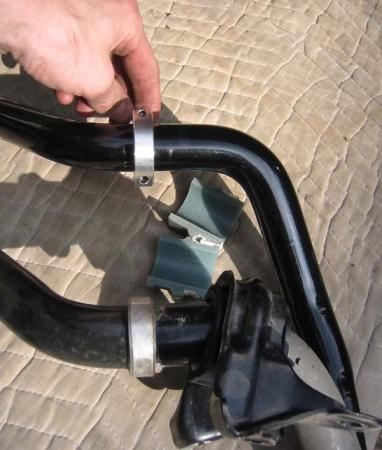
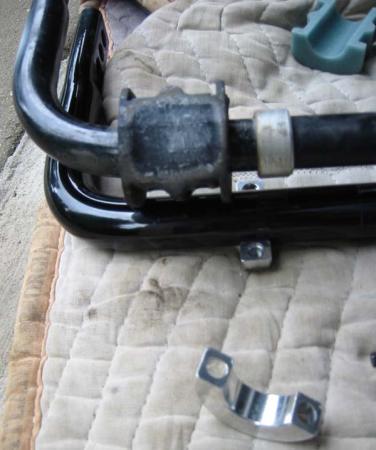
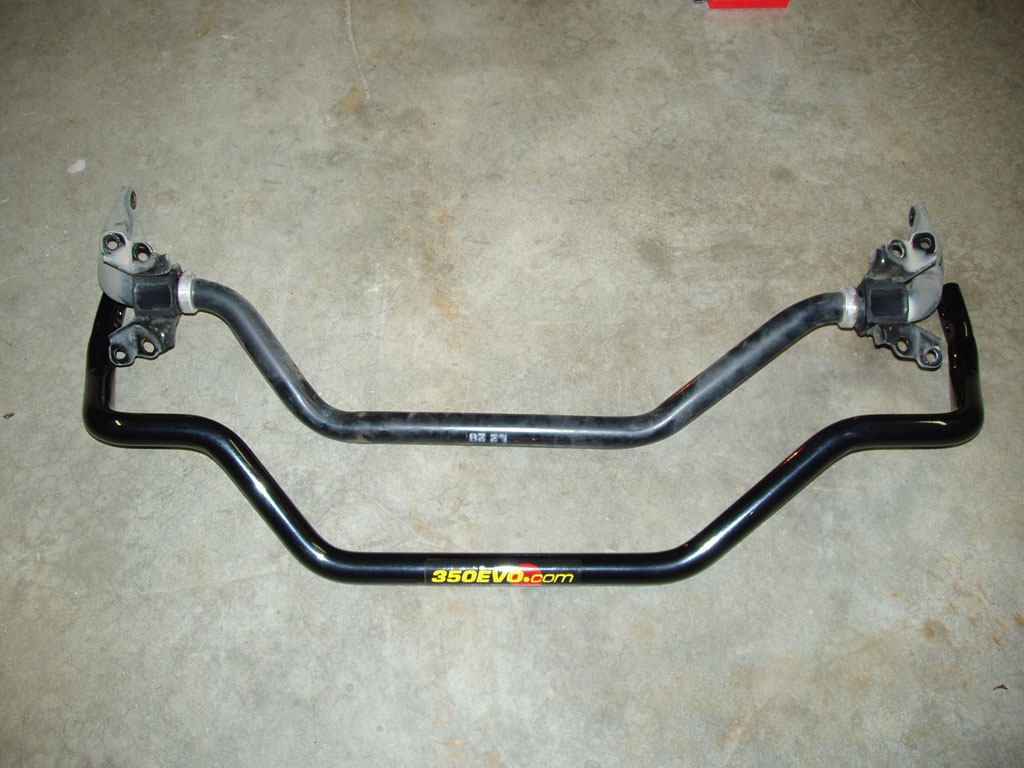
Step 8: Line up the OEM sway bar to your new 350Evo sway bar. Using an allen wrench, remove the billet bracket thingee on the 350Evo sway bar and align it to the position on the OEM sway bar. Make sure that the allen wrench ends will face downward once the sway bar is on the car. (Note: these are the v.1 bushings, the sway bars are now offer with v.3 bushings with reinforced brackets)
Step 9: If you haven't moved on to a 2nd beer by now, you need to now.
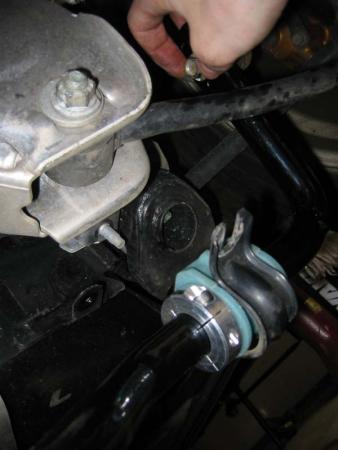
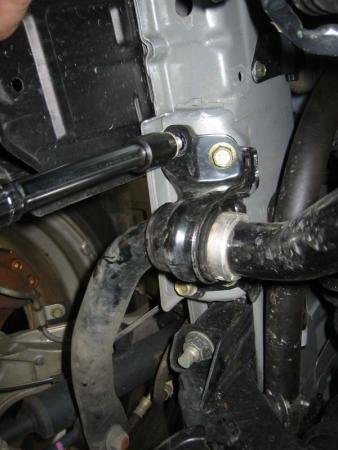
Step 10: Back under the car now (after you've had a few swigs), hang the 350Evo sway bar to the endlinks. The writing should be visible right side up from the back of the car. Attach the 14mm bolt to the endlink screws, but don't tighten. Align the sway bar bracket with the polyurethane bushings.
Step 11: Adjust the billet sway bar brackets and tighten down with an allen wrench. Be sure that the sway bar is centered.
Step 12: Reattach the brackets with the 14mm bolts and tighten. Tighten endlink bolks. Make sure you get torque using that breaker bar. Reattach diffuser thingee. Put on rear left wheel, lower of jackstands, and be sure to retorque those lugnuts. Oila, rear has been finished.
[Thought I took a photo, but guess I forgot]
Front Sway Bar
Step 1: Raise car, put on jackstands, blah blah blah. You don't have to remove the wheels.Step 2: Remove belly pan and all those 10mm screws. You'll also find these a little plastic shield on the passenger side near the sway bar bracket there. Remove it, and you may need a screwdriver to get those grommets out.
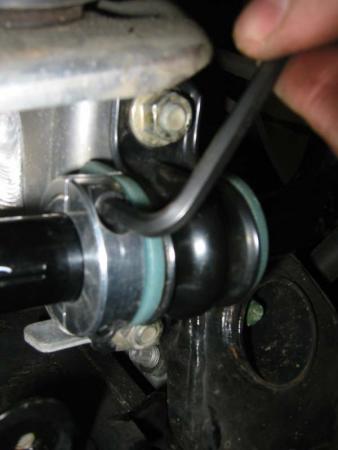
Step 3: You'll need the breaker bar here. Loosen the 17mm bolt from the endlinks, but don't disconnect the endlinks from the ends of the sway bar yet.
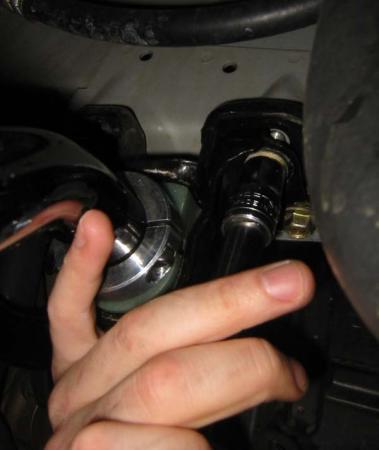
Step 4: Unbolt the 14mm bolts from each of the sway bar brackets. The long 14mm socket and extension are your friend here. The bolts are quite long, and will burn many calories (therefore I suggest more beer).
Step 5: Remove endlinks from sway bar, and remove from car.
Step 6: Remove endlinks from LCA, and then invert the endlink and install so that the short end of the endlink attaches to the LCA.
Step 7: Like the rear bar, align the billet brackets on the sway bar to the positions of the ones on the OEM sway bar. Make sure that the allen wrench ends will face downward once the sway bar is on the car.
Step 8: Reattach the new sway bar to the endlinks, bolt the sucker on, and reattach the brackets. Also align the billet bracket and tighten.
Step 9: When torquing down the brackets, you may encounter some difficulty. If you find a persistent bolt, loosen up the one diagonal to it, and then reattempt. After a turn or two, it'll get easier. Torque down all those 14mm bolts, and then torque down the endlinks.
Step 10: Reattach diffuser on the passenger side front sway bar bracket, and reattach belly pan. Lower car, and enjoy!
A few notes: Use the grease supplied with the bushings. Secondly, if you have ramps, use them as I think preloading the suspension is best, but if you don't have ramps, jackstands will suffice.
Pics from my install...
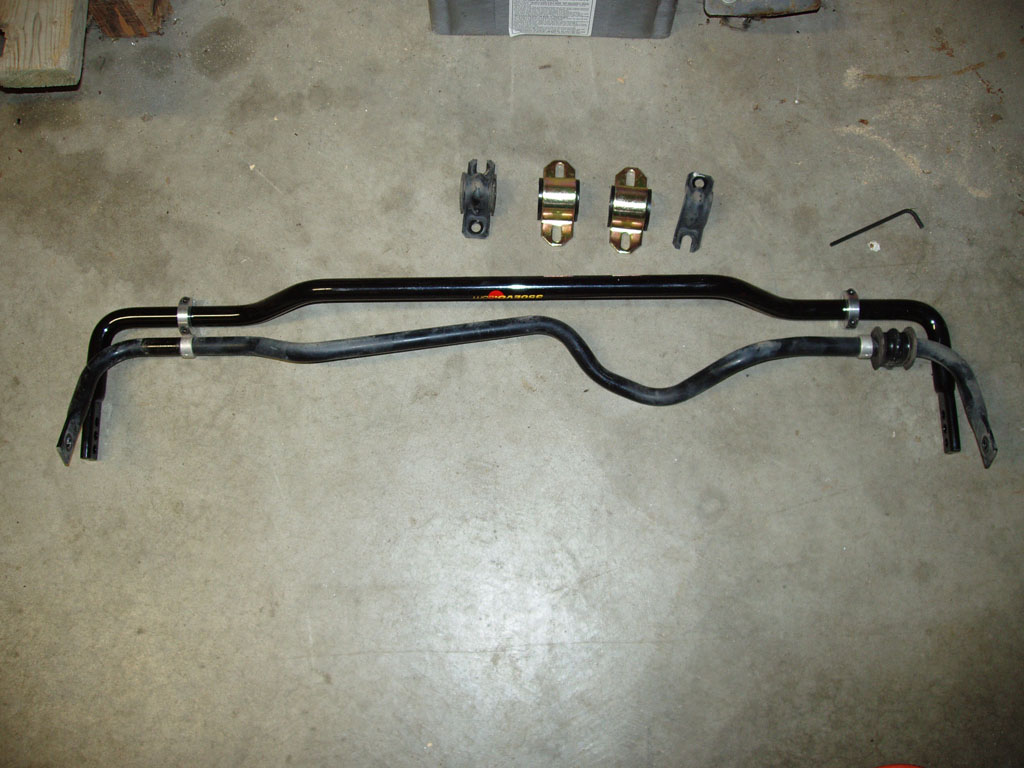
old vs new
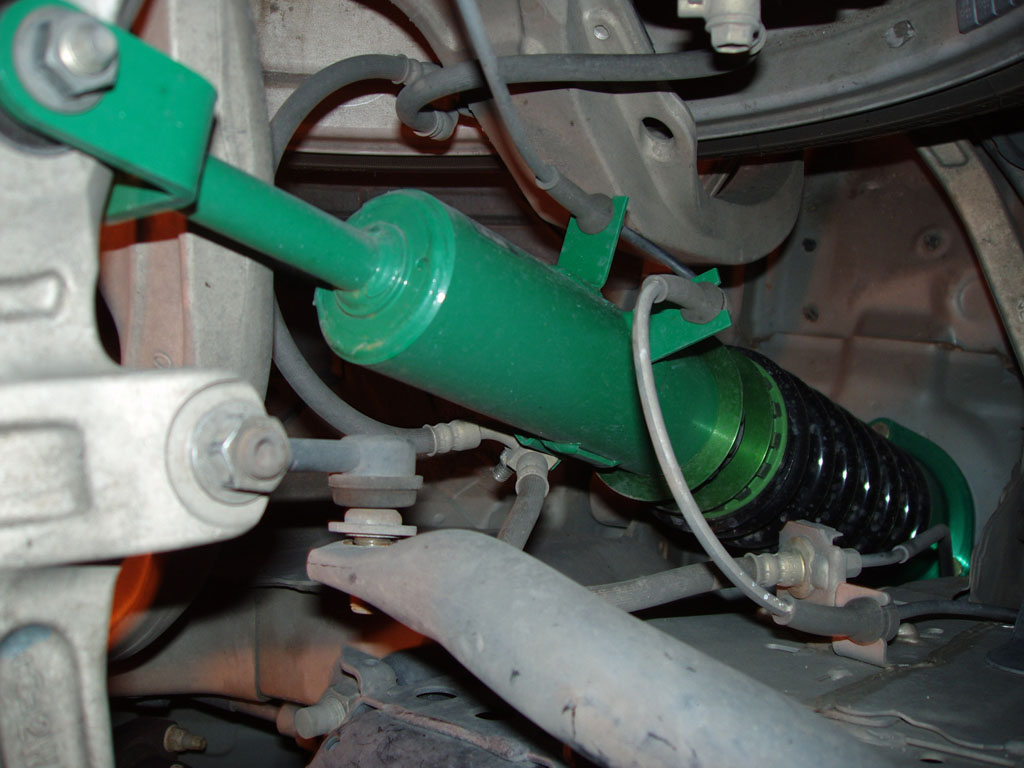
end link and shock
connecting rod bolt
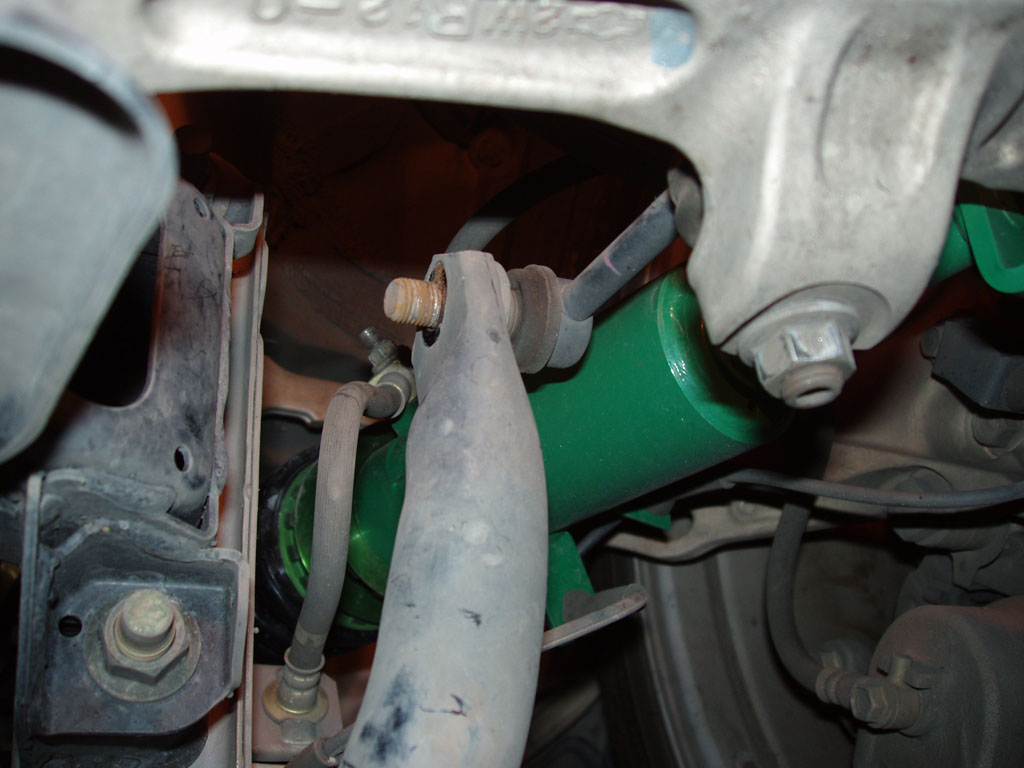
stabalizer connecting rod
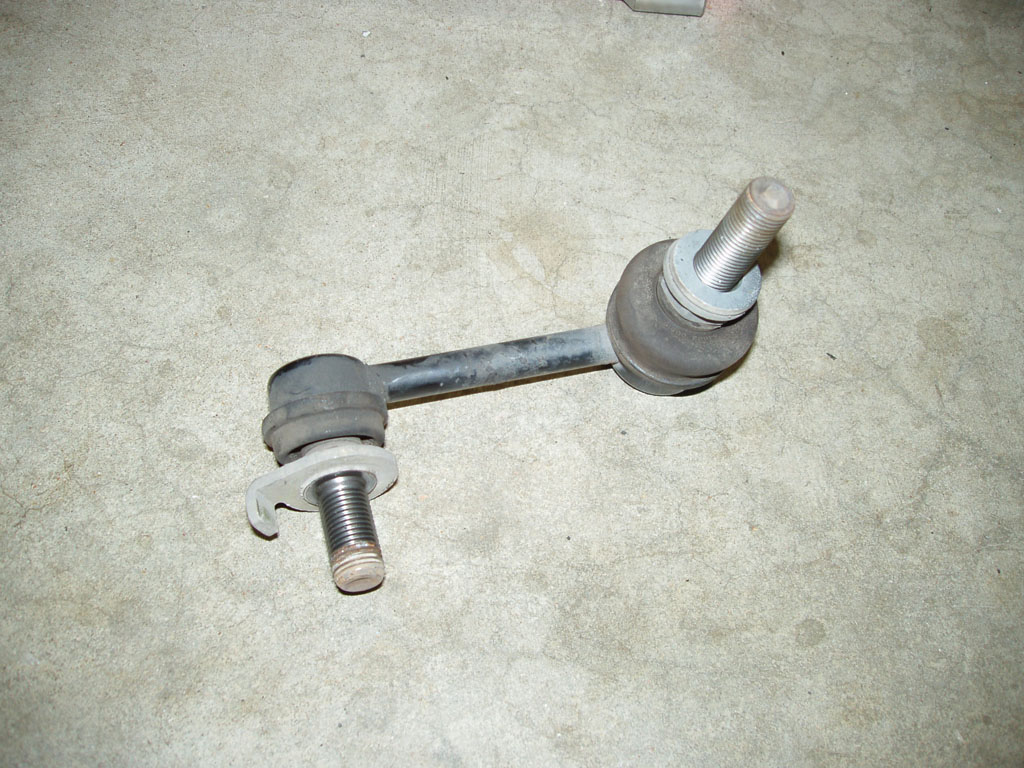
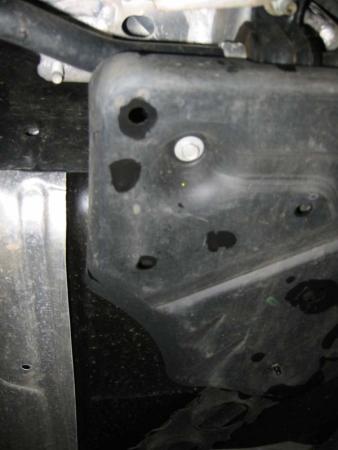
driver side stabalizer clamp
driver side sway bar removed
passenger side bolts out
passenger side sway bar removed
front sway bar installed
rear old vs new
rear sway bar installed